Online Tools & Image Optimization
How to Compress Images for WordPress Without Visible Quality Loss
Knowing the right image format is half the job. This guide shows how to shrink the file itself, how to check the result, and lets you compress and resize images right in your browser.
Why compression matters more than the format
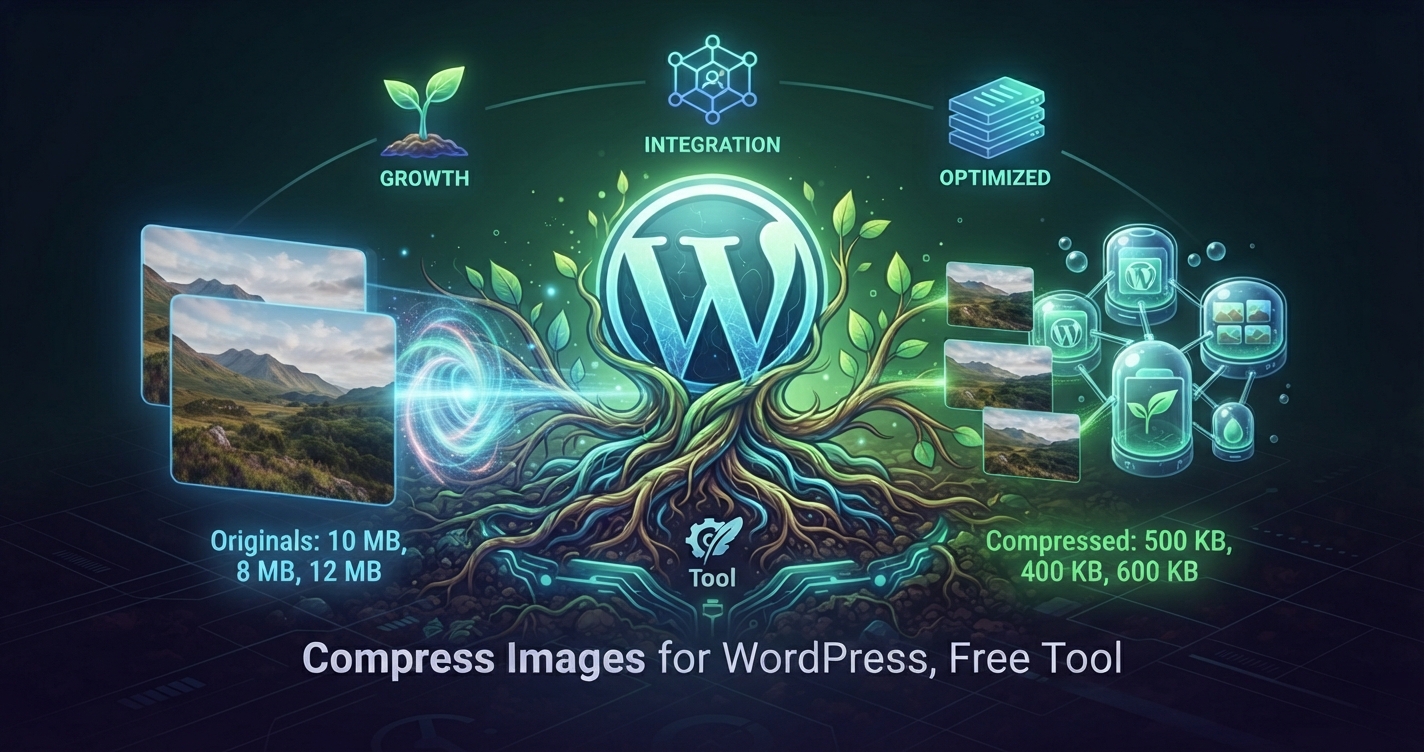
A photo straight from a phone is often several megabytes and thousands of pixels wide, while a blog column shows it at under 900 pixels. The visitor downloads the extra data and never sees it. Compressing before upload is one of the cheapest speed improvements available.
We already explain which image format to choose and which dimensions to use. This guide covers the step in between: actually shrinking the file, and checking the result.
The two levers: dimensions and quality
Image file size is driven mostly by two settings you control.
- Dimensions. Halving the width cuts the pixel count to about a quarter. This is usually the biggest saving and costs nothing visible if the image is displayed smaller than its true size.
- Quality. Lossy formats such as JPEG and WebP discard detail you are unlikely to notice. A setting in the range of 70 to 85 is a common starting point for photos, but check your own image rather than trusting a number.
Screenshots and logos with sharp text and flat colors behave differently from photos. Compression artifacts show up around text first, so use a higher quality or keep those as PNG.
Free tool: compress and resize images in your browser
Choose up to 10 images (JPEG, PNG or WebP). Your files are processed on your own device and are not uploaded anywhere. The tool re-encodes each image and shows the real size before and after, so you can decide whether to use the result.
JPEG has no transparency, so transparent areas become white. WebP keeps transparency. Re-encoding removes camera metadata such as location.
| Preview | File | Before | After | Change | Download |
|---|
A simple workflow for every upload
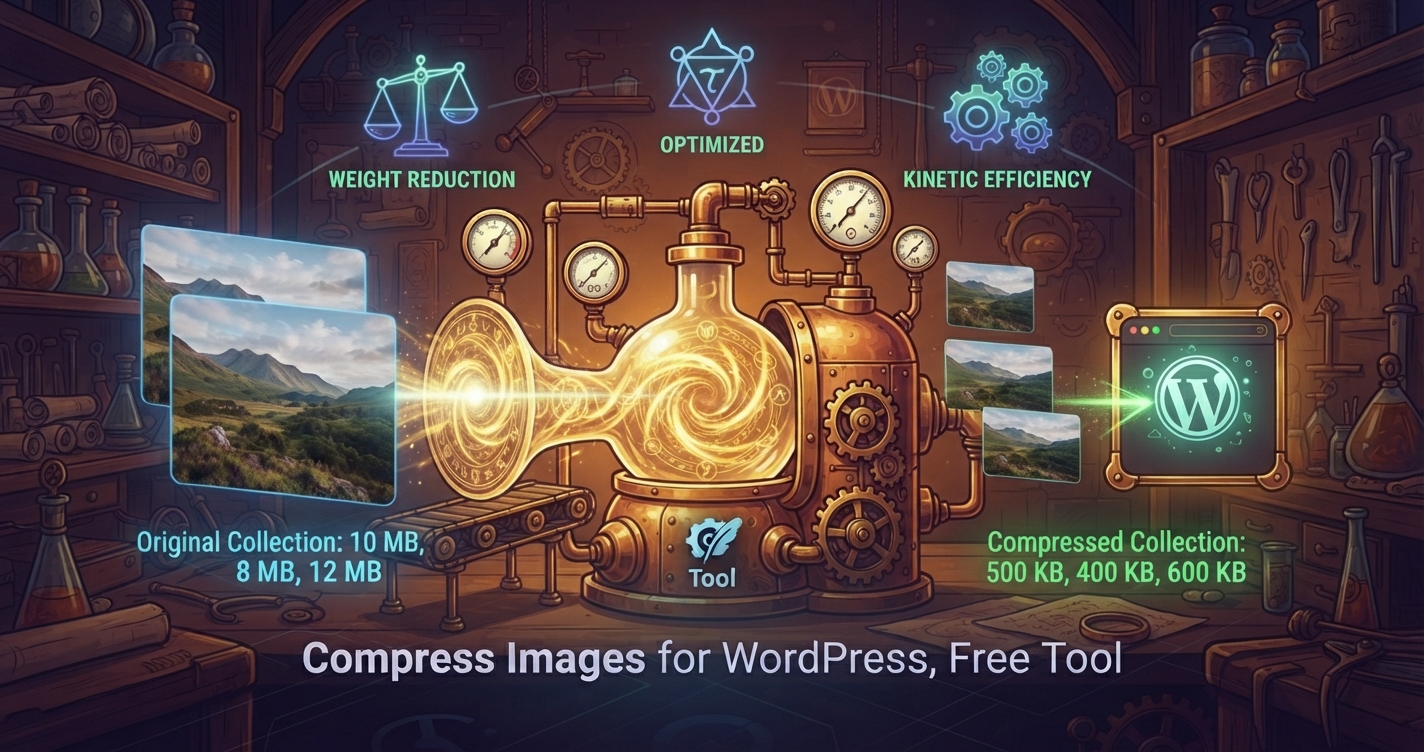
- Start from the original. Compress the original file, not a copy you compressed before. Repeated lossy compression keeps degrading the image.
- Decide the display width. Check how wide the image appears in your post or theme and resize to about that, with extra room for sharp screens if you need it.
- Pick a format. Photos usually do well as WebP or JPEG. Logos, icons and screenshots with text may suit PNG.
- Compress and compare. Zoom into the result at 100 percent. If you see blocky edges or smeared text, raise the quality.
- Name the file. Use a descriptive name such as
wordpress-backup-settings.webp, notIMG_4821.