WordPress “Not Secure” Warning: How to Move to HTTPS and Fix Mixed Content
Why browsers flag your site, how to switch WordPress to HTTPS without redirect loops, and how to find and fix the old http:// links that leave some pages broken or half-styled.
If Chrome shows “Not secure” next to your web address, your site is still being served over plain HTTP. Chrome has labelled every HTTP page that way since July 2018, and Chrome 154, released in September 2026, goes further: by default it asks people before opening an HTTP site. When Google announced the change, it said the warning would cover public sites a person hasn’t visited recently. For a blog that wants readers’ trust, HTTPS is no longer optional.
The switch itself is usually quick, because most hosts provide a free certificate and WordPress has a built-in button for the move. What trips people up comes afterwards: old http:// links to images, scripts and fonts, known as mixed content. This guide covers the whole job in order, from certificate to Search Console, with fixes for the problems people run into most.
Key takeaways
- Back up first, make sure your host has issued a certificate, and check that the https:// version of your site loads.
- Switch WordPress with Site Health’s “Update your site to use HTTPS” button, or change both addresses in Settings → General.
- Redirect every HTTP address to HTTPS with a permanent (301) redirect, ideally through your host’s settings.
- Find leftover http:// links with your browser’s developer tools and fix them at the source, using a careful search and replace.
What “Not secure” and mixed content mean
With HTTPS, the connection between a visitor’s browser and your server is encrypted, so nobody in between can read or change what is sent. Plain HTTP has no such protection, which is why browsers warn about it.
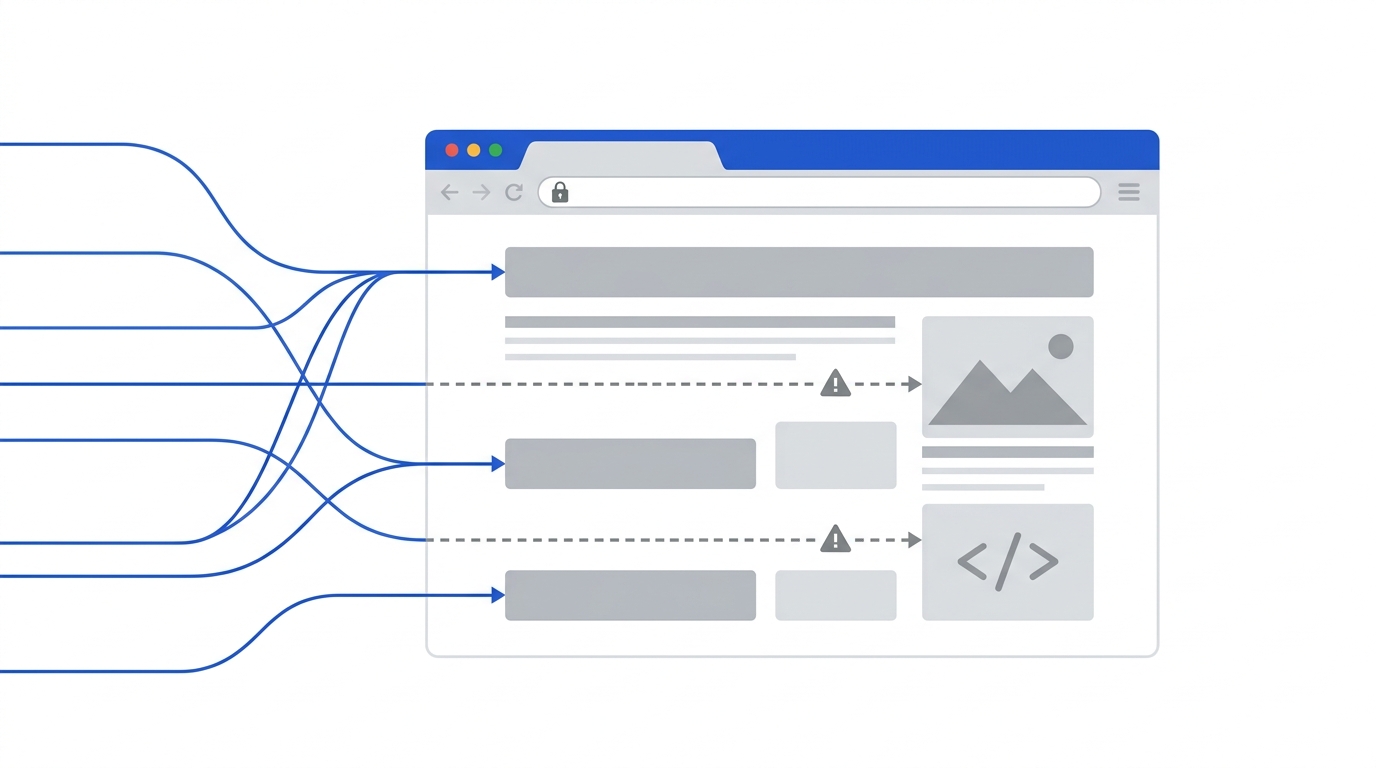
Mixed content is what happens after a partial switch: the page itself loads over HTTPS, but some of the files it uses are still requested over HTTP. Browsers handle those files in two ways, which MDN describes as upgradable and blockable content:
| Type | Examples | What happens |
|---|---|---|
| Upgradable | Images, audio and video | The browser tries the https:// address instead. If that fails, the file doesn’t load at all. |
| Blockable | Scripts, style sheets, fonts, iframes, and images in responsive srcset lists |
Blocked, so features stop working or the page loses part of its design. |
In practice, mixed content today usually shows up as missing images, a broken slider or form, or a page that looks partly unstyled, rather than as a warning in the address bar. And don’t rely on the padlock to judge success: Chrome announced in 2023 that it would replace the lock with a neutral icon. What matters is that the address starts with https:// and that the browser reports no insecure content.

Before you start
- Make a full backup of your files and database. The steps below change your site’s addresses, so you want an easy way back. Our guide to backing up a WordPress site shows three methods.
- Get a certificate. Let’s Encrypt issues certificates free of charge, and for many people the hosting provider requests and renews them automatically, sometimes after you switch on an option in the control panel. Look for “SSL” or “Let’s Encrypt” in your hosting dashboard, or ask support.
- Let renewal happen automatically. Certificates are getting shorter-lived: Let’s Encrypt’s default lifetime is due to drop from 90 days to 64 days in February 2027 and 45 days in 2028, and it stopped sending expiry reminder emails in 2025. Manual renewal is no longer realistic.
- Test the secure address. Type your domain with https:// in front. If the page loads without a certificate error, you are ready to switch.
Step 1: Switch WordPress to HTTPS
Option A: the Site Health button
Since WordPress 5.7, switching is a one-click move. Go to Tools → Site Health. If it reports “Your website does not use HTTPS”, open that item and click Update your site to use HTTPS. WordPress changes both site addresses, and undoes the change only if WordPress still doesn’t recognize the site as using HTTPS. It won’t switch back if something else breaks later, so keep your backup ready.
The button only appears when WordPress can load your site over HTTPS with a valid certificate (it tests this when Site Health runs), when your addresses aren’t fixed in wp-config.php, and when you are an administrator who can update WordPress. If you see “Talk to your web host about supporting HTTPS for your website” instead, WordPress couldn’t load your site over HTTPS. Usually the certificate isn’t in place yet, although a firewall or security plugin that blocks WordPress’s own test request can cause the same message.
After the switch, if both addresses use the same domain, WordPress also rewrites http:// links to your own site in post content, excerpts, classic Text widgets and Additional CSS as pages are shown. That is a useful safety net, but it doesn’t change your database and doesn’t reach everything; menus, theme settings, custom fields, block widgets and page-builder layouts can still contain old links. Step 4 deals with those.
Option B: change the addresses yourself
Go to Settings → General and change both WordPress Address (URL) and Site Address (URL) from http:// to https://, then save. You will be logged out and asked to log in again. If the two fields are greyed out, the addresses are set in wp-config.php with WP_HOME and WP_SITEURL; change them there instead.
Step 2: Redirect HTTP to HTTPS
Visitors, old bookmarks and links from other sites still point at http:// addresses, so send them to the secure version with a permanent (301) redirect. The simplest way is your host’s own setting. In cPanel it is the Force HTTPS Redirect switch under Domains; other control panels have a similar option.
If your server runs Apache and your host has no such setting, add these lines at the top of the .htaccess file in your site’s main folder, above the # BEGIN WordPress line, because WordPress overwrites anything between its own markers:
RewriteEngine On
RewriteCond %{HTTPS} !=on
RewriteRule ^ https://%{HTTP_HOST}%{REQUEST_URI} [L,R=301]Step 3: Find mixed content
Open a page in Chrome, press F12 (or right-click and choose Inspect) and look at the Console tab. Insecure files appear as “Mixed Content” messages that say whether the request was automatically upgraded or blocked, and name the exact file.
For a full list, open the Network tab, reload the page and type mixed-content:all in the filter box; Chrome’s DevTools reference also lists scheme:http for every request made over plain HTTP. Check several page types, not just the home page: a post with images, a page with a form or slider, an archive page and your contact page.
Step 4: Fix mixed content at the source
Most leftover links live in the database: inside posts, in image settings, in widgets and in plugin options. A search-and-replace tool can change http://yourdomain.com to https://yourdomain.com everywhere at once, but it needs care, because WordPress stores some settings in a format that breaks if text is replaced carelessly.
-
Use a tool that understands WordPress data
Better Search Replace handles WordPress’s stored settings safely and offers a dry run. With command-line access, WP-CLI’s search-replace does the same. Never run a raw SQL replace across every table.
-
Do a dry run first, and skip the GUID column
A dry run shows how many changes would be made without saving anything. WordPress’s migration guide is emphatic about one column: “Never, ever, change the contents of the GUID column, under any circumstances.”
-
Check what a search and replace can miss
Confirm that custom links in Appearance → Menus, the logo and background images in the Customizer and any code in Additional CSS now use https://. Page builders can store addresses in a form a plain search doesn’t match, so run your builder’s own “replace URL” tool if it has one. Fix embedded content from other sites, such as old video or map codes, by hand, and edit addresses typed directly into theme files in the files themselves, ideally in a child theme.
-
Clear every cache and test again
Clear your caching plugin, your host’s cache and any CDN, then repeat Step 3 on the same pages until the Console shows no mixed content messages.
With WP-CLI, start with a dry run. Replace example.com with your own domain, and include www. if your site uses it:
wp search-replace \
  'http://example.com' \
  'https://example.com' \
  --skip-columns=guid --dry-run
If the counts in the report look sensible, run the same command without --dry-run:
wp search-replace \
  'http://example.com' \
  'https://example.com' \
  --skip-columns=guid
Using Cloudflare? Avoid the redirect loop
Cloudflare’s Flexible mode encrypts the connection between visitors and Cloudflare, but connects to your server over plain HTTP. If your server also redirects HTTP to HTTPS, the two keep sending each other round in circles and the site shows “too many redirects”. Cloudflare’s own documentation says not to use Flexible when your server redirects to HTTPS and recommends Full or Full (strict), which requires a certificate on your server as well.
Should you turn on HSTS?
HSTS is a header that tells browsers to use only HTTPS for your site from then on, even if someone types http://. It strengthens security, but it is hard to undo: visitors can no longer click past certificate errors, and the preload list run by browsers covers all your subdomains, with removal that takes months to reach users.
For most small sites, turn it on only after HTTPS has run without problems for a while, start with a short duration and increase it gradually, and leave preloading until you are certain every subdomain supports HTTPS.
After the move: Search Console
Google treats a move from HTTP to HTTPS as a site move with URL changes, although it needs fewer steps than a move to a new domain. You don’t need the Change of Address tool. Google’s checklist is:
- use permanent, server-side redirects and keep them in place for at least a year;
- update internal links to the new https:// addresses;
- make sure each page’s canonical tag points to its own https:// address;
- submit your sitemap again in Search Console;
- expect some temporary movement in rankings while Google processes the change.
A Domain property in Search Console covers http and https, with and without www, in one place; our guide to adding your site to Search Console explains how to set one up. And keep expectations realistic: HTTPS protects your readers and avoids warnings, but Google says that page experience aspects beyond Core Web Vitals don’t directly help your site rank higher.
Troubleshooting common problems
| Symptom | Likely cause | Fix |
|---|---|---|
| “Too many redirects” | Cloudflare Flexible mode, or two redirect rules fighting | Set Cloudflare to Full (strict) and keep only one HTTP-to-HTTPS redirect |
| Locked out after changing the addresses | No working certificate yet | Put the old http:// addresses in wp-config.php with WP_HOME and WP_SITEURL, fix the certificate, then delete those two lines |
| Some pages look broken or unstyled | Blocked style sheets or scripts | Find them in the Console (Step 3) and replace the links (Step 4) |
| Images missing on some posts | Old image links that can’t load over HTTPS | Run the search and replace, and re-upload images hosted on other sites |
| Certificate warning instead of the site | Certificate missing, expired or issued for the wrong name, such as without www | Ask your host to issue a certificate that covers every version of your domain |
Frequently asked questions
Does “Not secure” mean my site has been hacked?
No. It means the page is served over HTTP without encryption. If you see other signs, such as unknown users, strange redirects or spam pages, follow our recovery plan for hacked WordPress sites.
Is a free SSL certificate good enough?
Yes, for blogs and most business sites. A free Let’s Encrypt certificate encrypts the connection in the same way as a paid one; paid certificates mainly add support or company validation.
Do I need to change every image link by hand?
No. A database search and replace (Step 4) updates links in posts and settings at once. Only links it can’t match need individual attention, such as addresses typed into theme files, some page-builder data and embeds from other sites.
Will moving to HTTPS hurt my rankings?
Google warns that rankings can fluctuate for a while during any site move, while it recrawls and reindexes your pages. Permanent redirects, updated internal links and a fresh sitemap help it process the change.
How long until the change shows everywhere?
Visitors see HTTPS as soon as the redirect is active and caches are cleared. In Google’s results, the https:// addresses replace the old ones gradually as Google recrawls your pages.
Conclusion
Moving WordPress to HTTPS takes four steps: get a certificate, switch the addresses, redirect HTTP to HTTPS, and clean up mixed content. The first three usually take minutes. The fourth takes a little patience with the Console and a careful search and replace, but once it is done your readers see a secure, complete site on every page.
Open your home page and one of your older posts with the Console tab of DevTools open. If you see any “Mixed Content” messages, note the files listed, then work through Step 4. Back up before you start.
Sources
- Mixed content, MDN Web Docs
- Improved HTTPS detection and migration in WordPress 5.7, Make WordPress Core
- Migrating WordPress, WordPress Advanced Administration Handbook
- wp search-replace, WP-CLI documentation
- How to move a site with URL changes, Google Search Central
- ERR_TOO_MANY_REDIRECTS, Cloudflare documentation