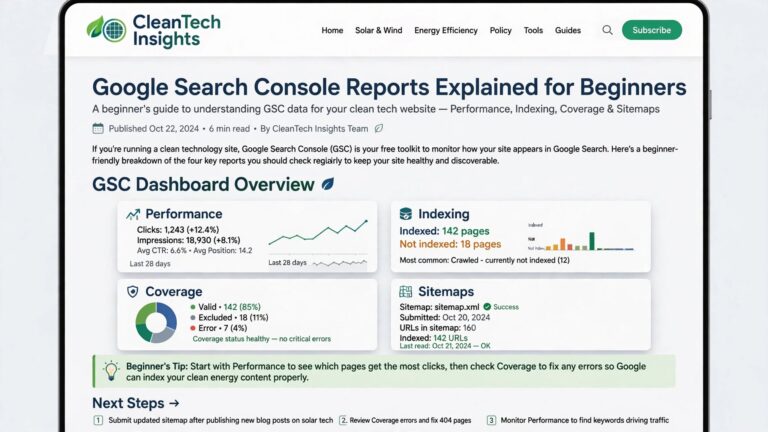
You have published your first posts, and now you are wondering whether Google has even noticed them. Are your pages in the index? What are people typing to find you? Is anything broken?
Google Search Console answers those questions, and it is free. It is the official tool that shows how Google sees your site, and setting it up is one of the most useful things a new WordPress site owner can do.
This guide shows you how to add your WordPress site to Search Console, verify it using the method that suits you, submit your sitemap and read your first reports.
Quick answer
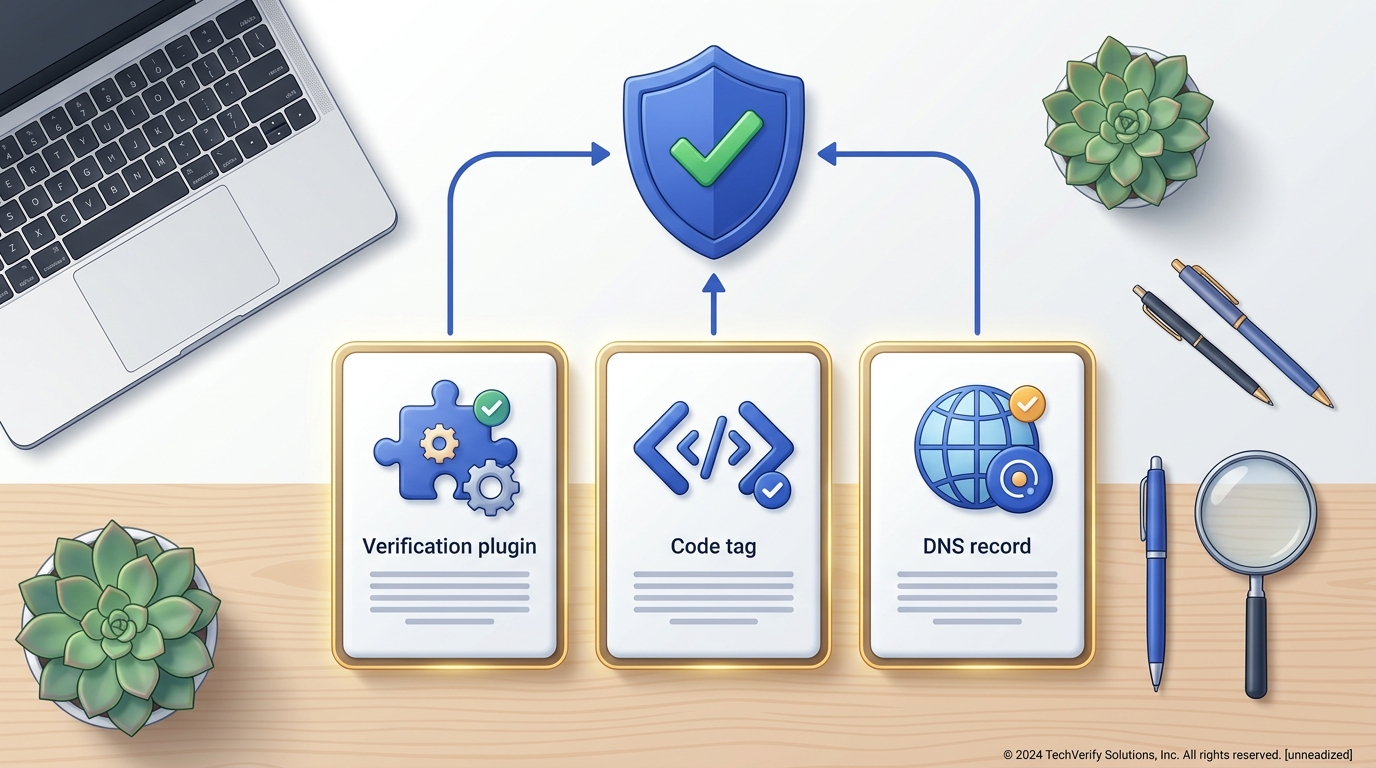
Go to Google Search Console, add your site as a property, and prove you own it. WordPress users have three easy options: install Google's Site Kit plugin, paste an HTML tag into an SEO plugin, or add a DNS TXT record at your domain provider. After verification, submit your sitemap in the Sitemaps report and wait a few days for data to appear.
What Is Google Search Console?
Google Search Console is a free service from Google for website owners. It does not control whether your site appears in Google, and you do not have to use it to be indexed, but it gives you information you cannot get anywhere else.
With it, you can:
- See which search queries bring people to your site
- Check which pages are indexed and why others are not
- Submit a sitemap so Google can find your pages more easily
- Inspect a single URL and request indexing
- Get alerts about security problems or manual actions
- Review Core Web Vitals and other experience reports
Search Console vs Google Analytics
Beginners often mix these up. They work well together, but they answer different questions.
| Google Search Console | Google Analytics | |
|---|---|---|
| Main question | How does my site perform in Google Search? | What do visitors do on my site? |
| Shows search queries | Yes | No |
| Shows indexing problems | Yes | No |
| Shows traffic from all sources | No, Google Search only | Yes |
| Shows behaviour on the site | No | Yes |
Before You Start
You need three things:
- A Google account
- Administrator access to your WordPress dashboard
- For the DNS method only, access to the account where your domain is registered
Step 1: Add Your Site as a Property
- Go to the Google Search Console website and sign in with your Google account.
- Click Add property in the property menu at the top left. On a new account, the box appears straight away.
- Choose a property type, Domain or URL prefix, and enter your address.
Domain or URL prefix: which should you choose?
| Domain property | URL-prefix property | |
|---|---|---|
| What it covers | Every version of your site: http, https, www, non-www and subdomains | Only the exact address you enter |
| How you verify | DNS record only | HTML tag, HTML file, Google Analytics, Tag Manager or DNS |
| Difficulty | Moderate | Easy |
| Best for | A complete picture of the whole domain | Beginners who want the fastest setup |
Which one is right for a beginner?
If you are comfortable editing DNS records, a Domain property gives the most complete data. If not, start with a URL-prefix property and enter your address exactly as visitors see it, including https:// and www if your site uses it. You can add a Domain property later without losing anything.
Step 2: Verify That You Own the Site
Google needs proof that the site is yours before it shows you any data. Pick one of the three methods below.
Method 1: Site Kit by Google
Site Kit is Google's official WordPress plugin. It verifies your site and connects Search Console without you copying any code.
- In WordPress, go to Plugins → Add New and search for "Site Kit by Google".
- Install and activate it.
- Click Start setup and sign in with the Google account you want to use.
- Allow the permissions it asks for and follow the steps on screen.
- When setup finishes, your site is verified and Search Console data appears inside your WordPress dashboard.
Method 2: HTML tag with an SEO plugin
If you already use an SEO plugin such as Yoast SEO or Rank Math, this takes about two minutes.
- In Search Console, choose the URL prefix type and enter your address.
- In the verification options, open HTML tag and copy the meta tag.
- In WordPress, open your SEO plugin's webmaster tools or site connections setting.
- Paste the code into the Google field and save.
- Return to Search Console and click Verify.
Method 3: DNS record
This is the only method for a Domain property, and it keeps working even if you change your theme or plugins.
- In Search Console, choose Domain and enter your domain without
https://orwww. - Copy the TXT record that Google shows you.
- Log in to your domain registrar or DNS provider and open the DNS settings.
- Add a new TXT record for the root domain and paste the value.
- Save, wait a few minutes, then click Verify in Search Console. DNS changes can sometimes take longer to spread, so try again later if it fails the first time.

Comparing the three methods
Pros
- Site Kit: no code to copy, and data appears in your dashboard
- HTML tag: very quick if an SEO plugin is already installed
- DNS record: covers the whole domain and does not depend on WordPress
Cons
- Site Kit: adds another plugin to your site
- HTML tag: verification is lost if the tag is removed, for example after switching SEO plugins
- DNS record: needs access to your domain settings and can take time to confirm
Keep your verification in place
Google checks verification from time to time. If you delete the tag, the plugin or the DNS record, you can lose access to the property until you verify again.
Step 3: Submit Your Sitemap
A sitemap is a file that lists the pages on your site. Google can find pages without one, but submitting it helps, especially on a new site with few links pointing to it.
- Find your sitemap address. WordPress creates one automatically at
/wp-sitemap.xml. If you use Yoast SEO or Rank Math, it is usually/sitemap_index.xml. - Open the address in your browser to confirm that it loads.
- In Search Console, open Sitemaps in the left menu.
- Type the sitemap address into the "Add a new sitemap" box and click Submit.
- The status should change to "Success" once Google has read it. This can take a little while.
Step 4: Understand Your First Reports
Do not worry if everything looks empty at first. Data usually takes a few days to appear on a newly added property.
Performance
This is the report you will use most. It shows four numbers:
- Clicks: how many times people clicked through to your site
- Impressions: how many times your pages appeared in results
- CTR: the percentage of impressions that became clicks
- Average position: where your pages appeared on average
Below the chart you can see the queries, pages, countries and devices behind those numbers.
Page indexing
This report lists which pages are indexed and which are not, with a reason for each group. Some "not indexed" entries are perfectly normal, such as tag archives or pages you have chosen to exclude.
URL Inspection
Paste any address from your site into the search bar at the top to see whether it is in Google's index. For a new or updated post, you can click Request indexing. It is a request, not a guarantee, and repeating it does not speed things up.
Core Web Vitals
This report shows how real visitors experience your pages for loading, responsiveness and visual stability.
A Practical Example
Imagine one of your posts has 900 impressions, 9 clicks and an average position of 11 for a query. That is a CTR of 1%, and it tells you two things: Google considers the post relevant, and it is sitting just outside the first page.
That is a good candidate for improvement. You could make the title clearer, answer the question more directly near the top, and add a section that covers what searchers are asking. Search Console is most useful when you use it this way, to improve pages that are already close.
Common Mistakes to Avoid
- Adding the wrong version of the address. With a URL-prefix property,
https://www.example.comandhttps://example.comare treated as different properties. - Removing the verification method. Switching SEO plugins or themes can delete the tag without you noticing.
- Expecting instant data. New properties need a few days, and new sites need longer to build up impressions.
- Requesting indexing again and again. One request is enough.
- Panicking over every "not indexed" page. Read the reason first. Many are harmless.
- Checking daily and changing things constantly. Search data moves slowly. A weekly or monthly review is more useful.
Tips for Beginners
- Check the Performance report once a week and compare it with the previous period.
- Sort queries by impressions to find topics people already associate with your site.
- Look at the Pages tab to see which posts deserve an update.
- Turn on email notifications so Google can tell you about problems.
- Use the newer Insights report for a simpler summary if the full reports feel overwhelming.
Frequently Asked Questions
Is Google Search Console free?
Yes. It is completely free for any website owner with a Google account.
Do I need Search Console for my site to appear on Google?
No. Google can find and index sites without it. Search Console helps you monitor and understand how your site performs in Search.
How long does it take for data to appear?
Usually a few days after verification. A brand-new site may show very little at first because it has few impressions.
Does submitting a sitemap guarantee that my pages will be indexed?
No. A sitemap helps Google discover your pages, but Google decides which pages to index based on quality and other factors.
Can I verify more than one way?
Yes. Adding a second verification method is a good idea, because you keep access if one of them is removed.
Should I use Site Kit or an SEO plugin?
Either works. Site Kit is convenient if you also want Analytics and other Google data inside WordPress. If you already use an SEO plugin and prefer fewer plugins, the HTML tag method is enough.
Conclusion
Adding your WordPress site to Google Search Console takes about fifteen minutes: add the property, verify ownership, and submit your sitemap. After that, Google starts showing you what people search for, which pages are indexed and where problems appear.
Set it up once, give it a few days to collect data, and then make a habit of checking it regularly. The more real search data you have, the easier it becomes to decide what to write and what to improve.
Related Guides on ThemeZone
How to Use AI to Write Blog Posts That Are Original and Helpful
Create content worth indexing.
How to Install a WordPress Theme
Set up your site design the right way.
Free vs Premium WordPress Themes
Choose a theme that fits your budget and goals.